
How I Create Miniature Wire Armatures for Needle Felted Sculptures
Posted by Emily Bradley, Artist Altitude Artworx on Apr 8th 2026
If you’ve ever wondered how needle felted figures begin, it all starts with something small—but essential: the body beneath the wool.
One of the questions I’m asked most often is how I create the miniature bodies that form the foundation of my work. These small armatures are the hidden structure inside my needle felted sculptures, giving each piece strength, pose, and personality.
The Origin of My Mini Felted Figures
Like many studio processes, this one didn’t arrive fully formed.
I first came across the idea years ago in a book—small figures in a variety of sizes. Over time, I adapted the proportions and technique into something that feels natural in my own hands. Through repetition and refinement, it became part of my rhythm.
Today, I primarily work in two scales:
- Larger, more detailed needle felted sculptures
- Smaller miniature felt figures
These mini bodies have become a consistent starting point—simple, efficient, and incredibly versatile.
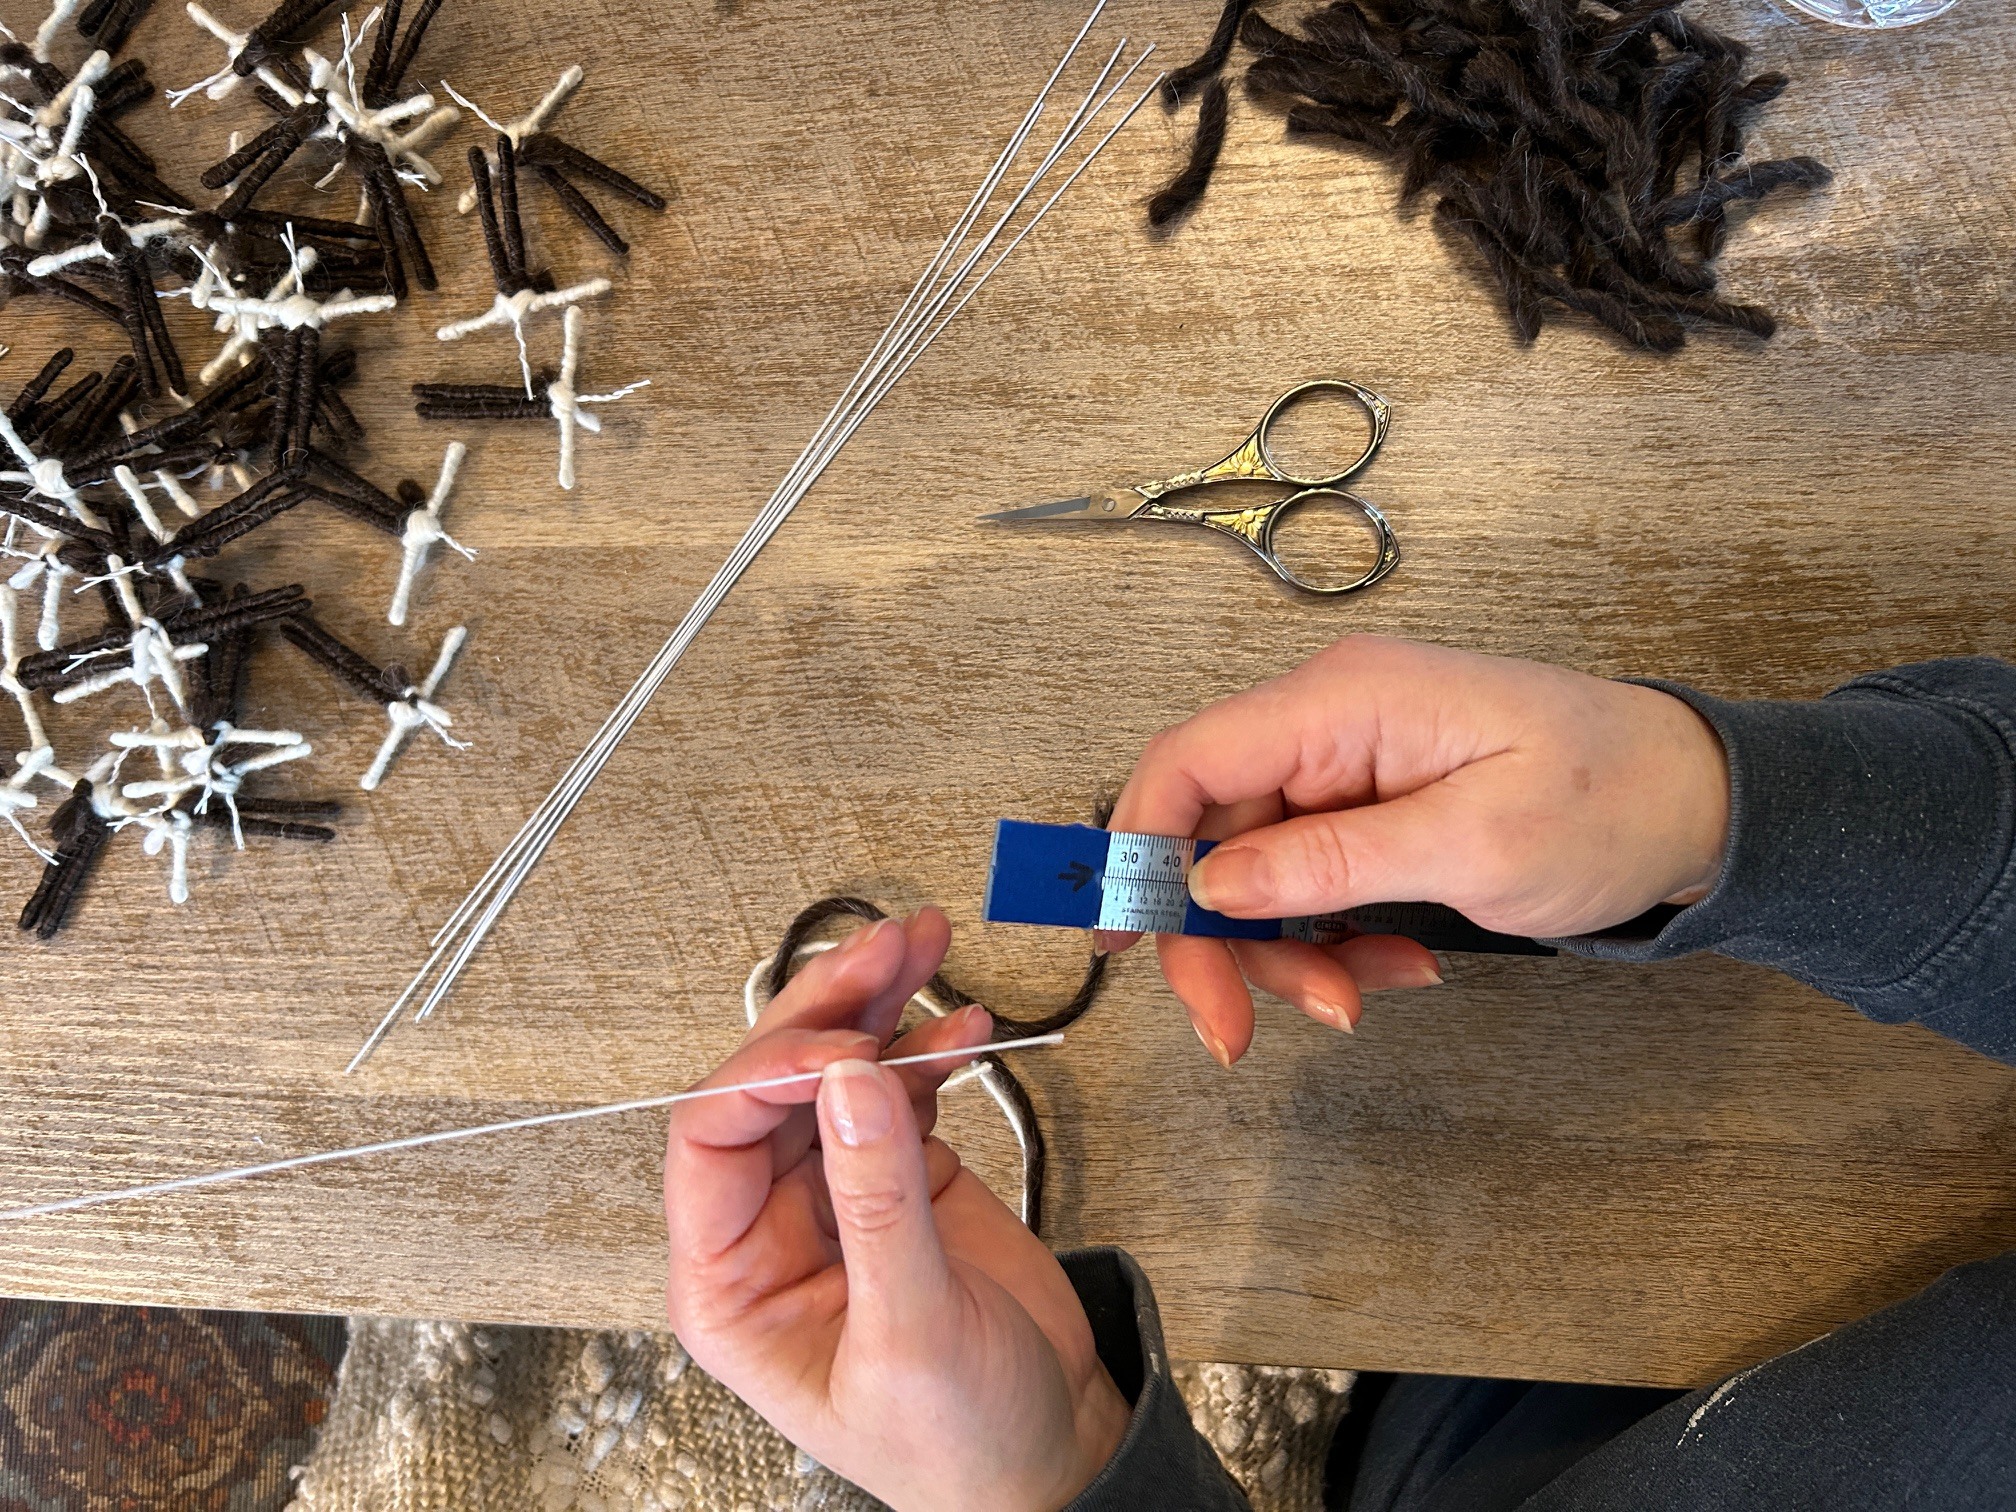 Step 1: Creating the Wire Armature
Every figure begins with wire.
I use a metal ruler marked with my preferred measurements to ensure consistency in size. From there, I fold the wire multiple times—typically around nine folds—to form the structure of the body, including arms, legs, and internal supports.
This process creates a strong wire armature for needle felting, which acts as the skeleton of the piece.
While it may feel a bit unconventional at first, it becomes intuitive over time. Once I find my rhythm, I can create several armatures in one sitting.
Step 2: Choosing the Right Wire
For most of my work, I use 18-gauge floral wire.
It offers the ideal balance:
- Strong enough to hold shape
- Flexible enough to bend and form
- Durable for long-term structure inside the sculpture
This is a key component in creating stable, poseable needle felted dolls and figures.
Step 3: Wrapping with Wool Yarn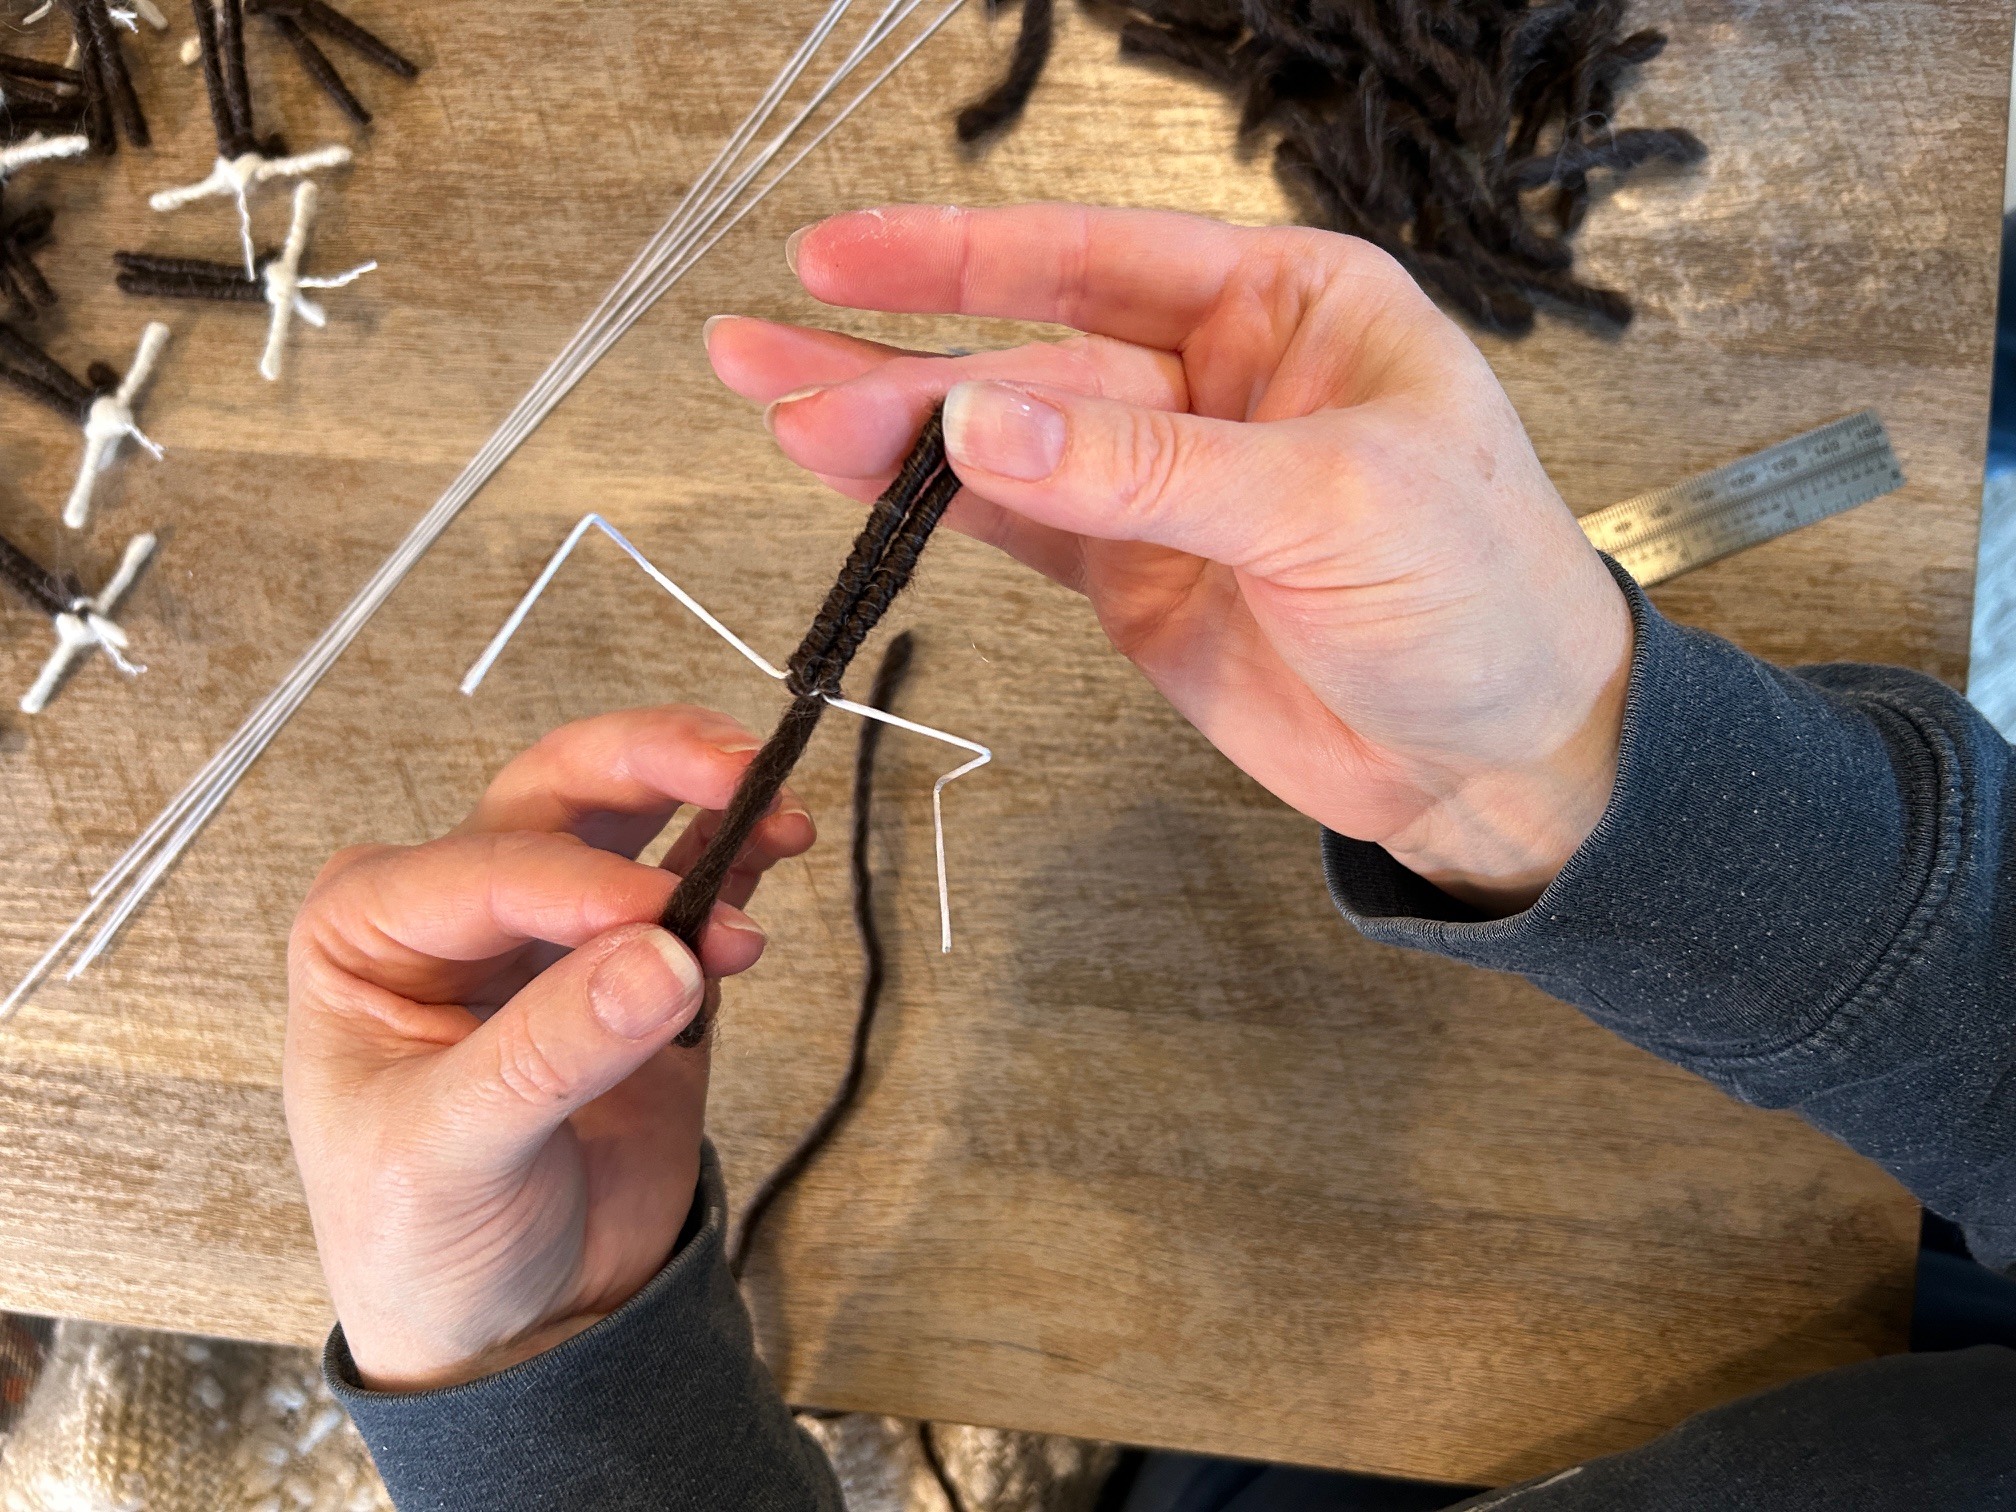
Once the armature is formed, I begin wrapping it in wool yarn.
The yarn I use is sourced from an Indian reservation in Arizona and includes horsehair spun into a one-ply wool. This gives it a slightly textured quality, which helps it grip the wire more effectively.
As the yarn loosens slightly during wrapping, it becomes easier to work with—allowing for a smooth, even layer across the armature.
This step builds the base for the wool to adhere during the needle felting process, while also adding subtle volume and softness.
Step 4: Building the Body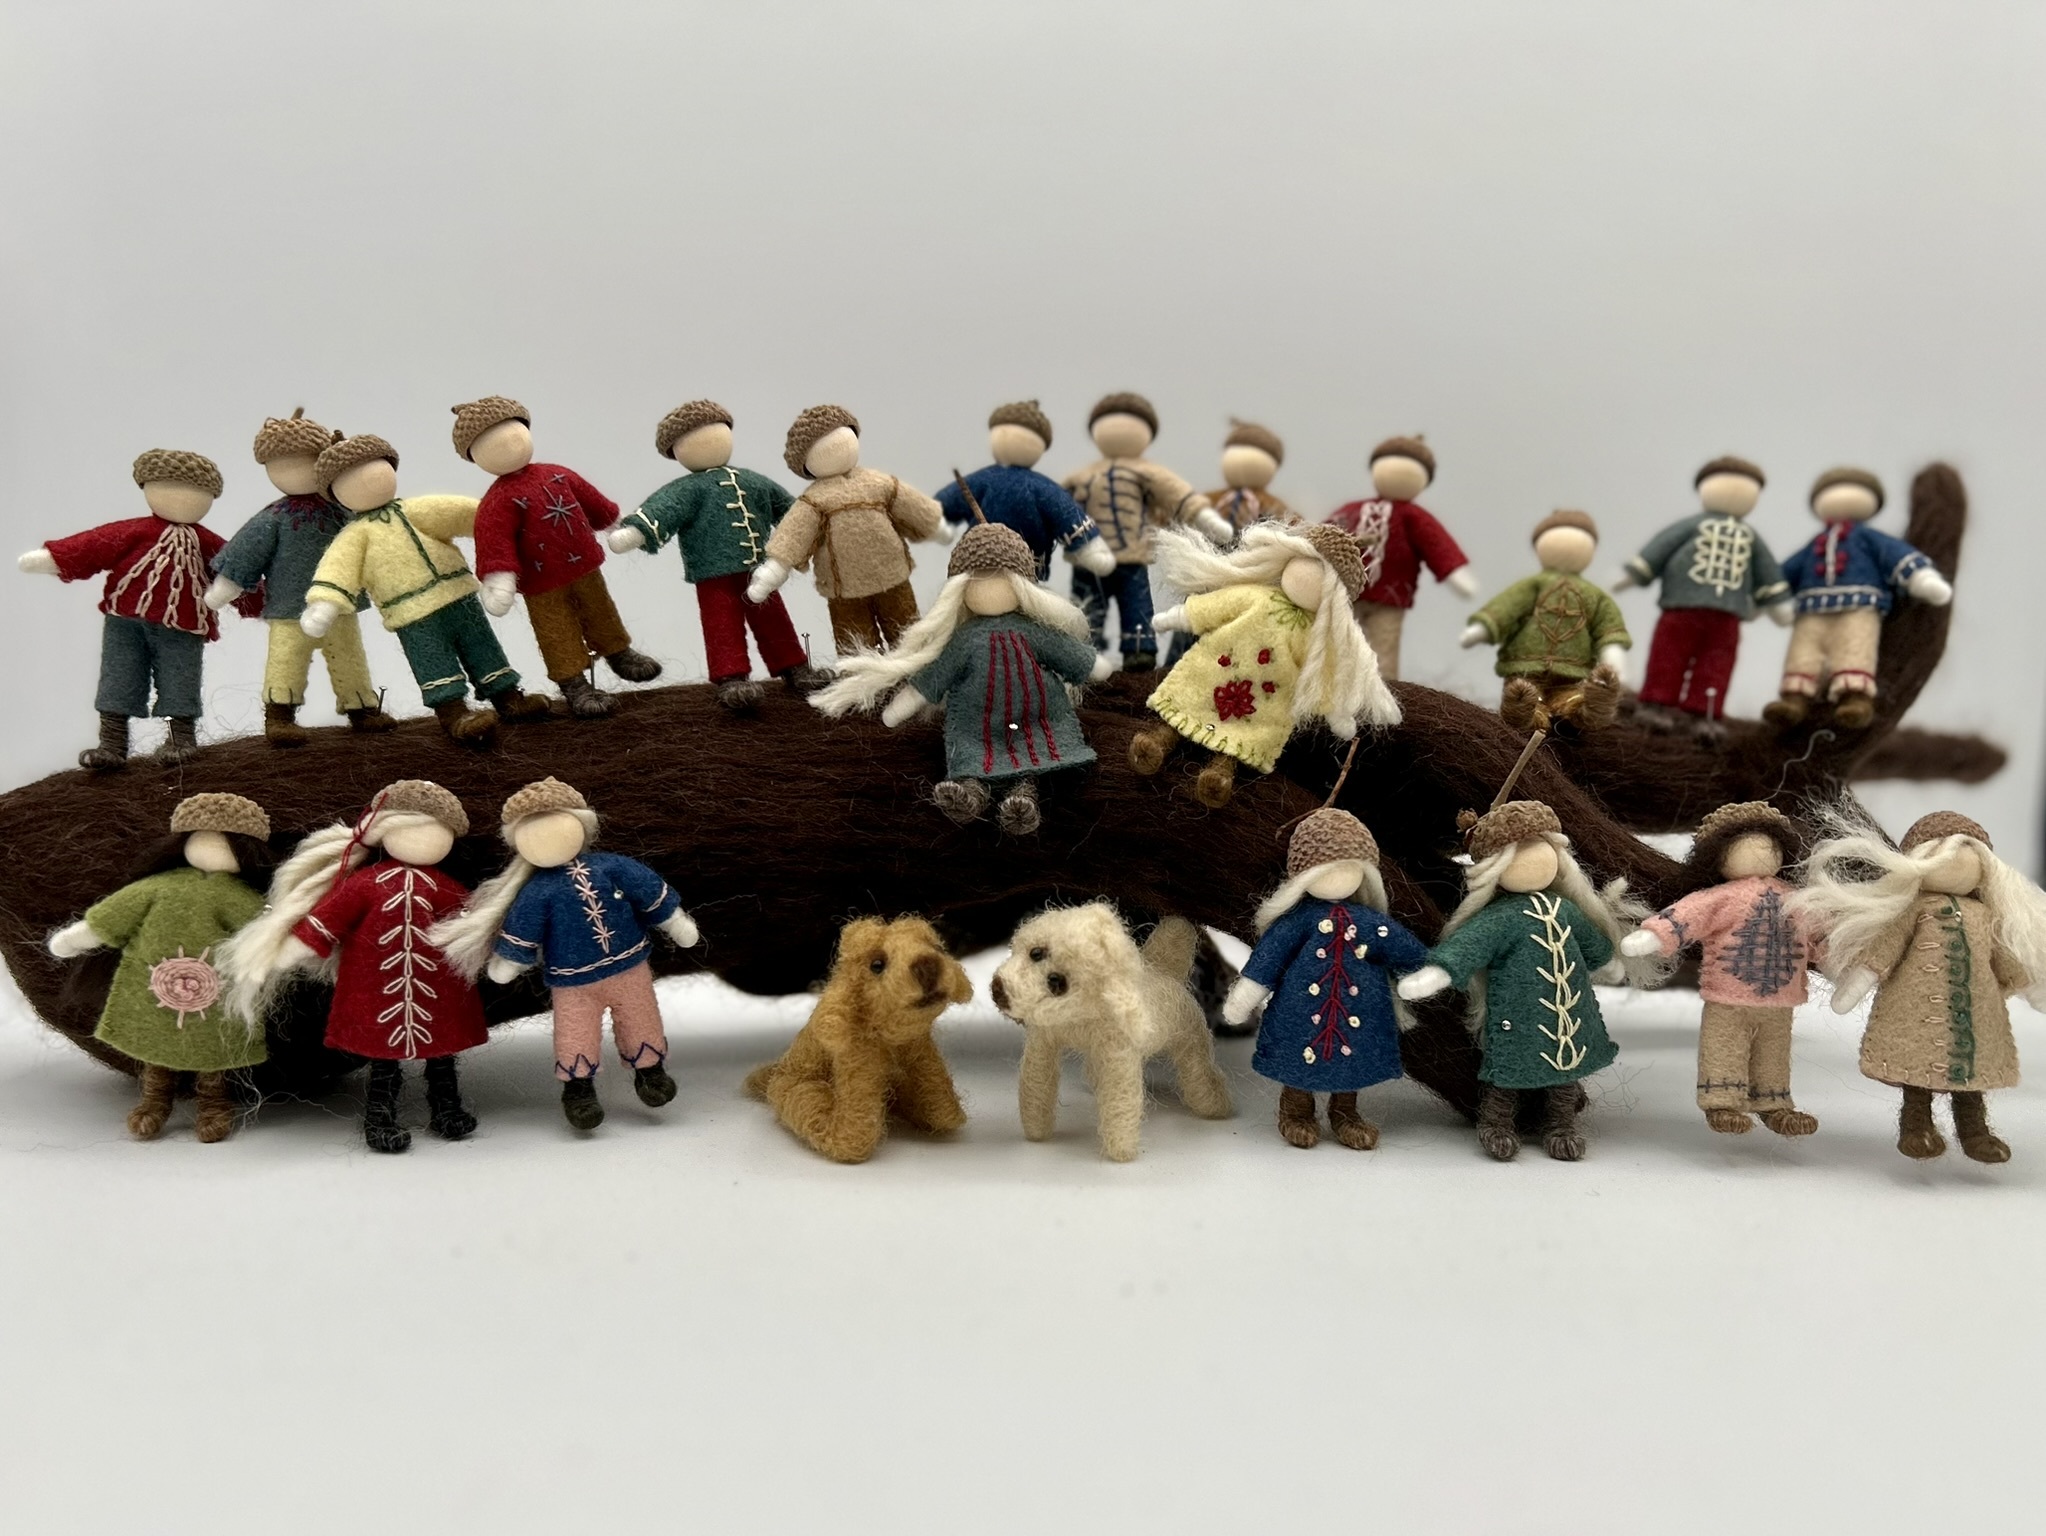
I wrap the legs first, then the arms—often using a different color to help visually define the structure.
At this stage, the figures are minimal—just form and suggestion—but they are fully prepared for the next layers of work.
Why Armatures Matter in Needle Felting
A well-made armature is what allows a needle felted sculpture to feel alive.
It provides:
- Structural integrity
- Poseability
- Longevity in the finished piece
Without it, the sculpture lacks the internal support needed for more complex forms.
The Beauty of Process
What I love most about creating these miniature bodies is the rhythm.
It’s repetitive in the best way—measured, familiar, and grounding. Each one is nearly identical, yet each one holds the potential to become something entirely unique.
They begin simply.
Wire. Yarn. Form.
And then, slowly, they become something more—ready for story, character, and life.
Final Thoughts
Whether you’re learning how to make needle felted figures, exploring fiber art techniques, or simply curious about what goes into handmade work, it all starts here—with the smallest foundation.